Addball Clothing
Shoutouts to this thread and this video for giving me a baseline to work off of.
Programs needed: Petz Workshop, LNZ Pro, any hex editing program.
Start out in Petz Workshop (this is not PWS-newbie-friendly, but hopefully it's still easy to follow). Open a vanilla breedfile that's totally clean of all variations. Remove paintballs if applicable, and remove all textures except for your target area (so there's less work later).
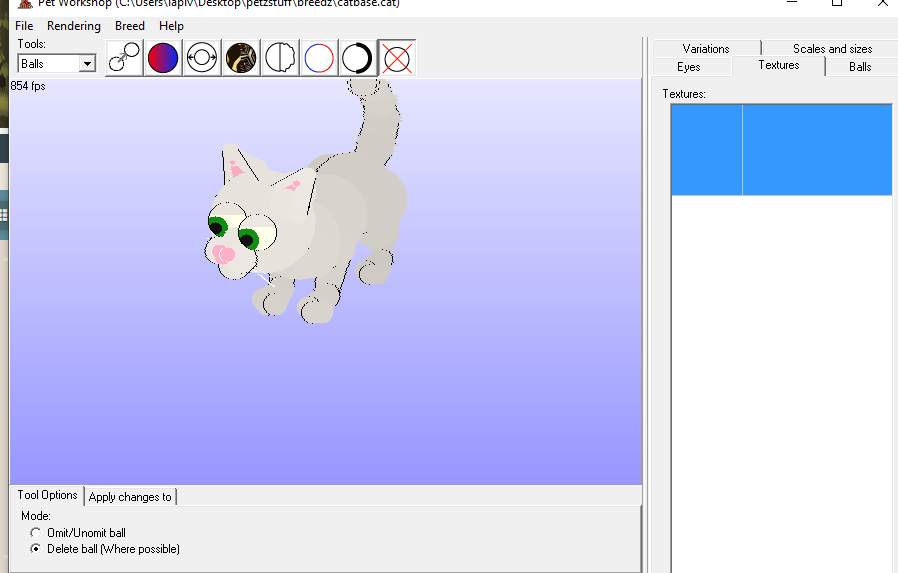

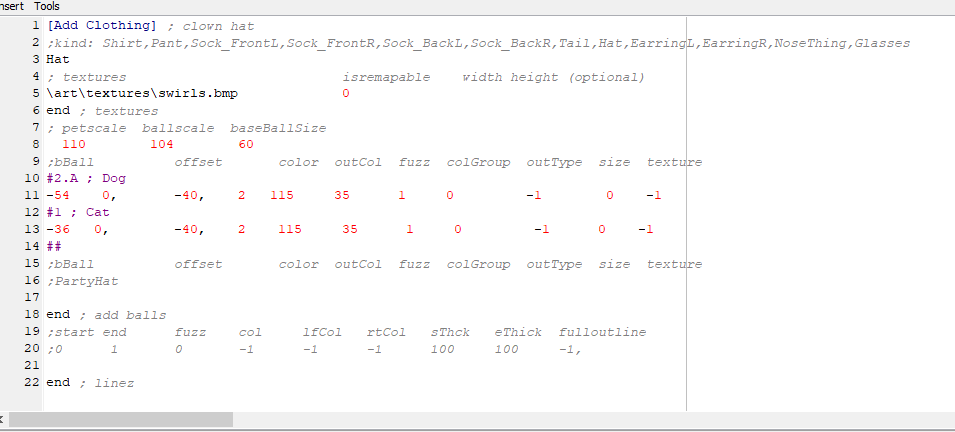
Choose the ball you want to anchor all of your addballs onto. For this example, we're going to make a collar, so we'll focus on the neck. Right click on the neck and create an addball (and repeat this process for other addballs).
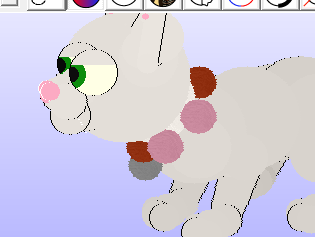
Arrange the balls around the neck as you like, but you only need to do half of them if you want to use my Addball Flipping method, which I will detail later. Color the addballs you want to flip a different color than the ones you don't, so you can remember which is which later. (I use 89 for my non-flips and 79 for my flips.)
After you've set your mirrorable parts up, you can flip them.

(Note: You don't need to change the base ball (here, it's 36) - just make the first value, the x value, negative, or if it was negative before, make it positive.)
From here, review your work in PWS, recolor (if applicable), and then save.

Next, you'll want to copy an existing clothing item - I base my neck items off of the Clown Hat, because I'm also a clown. I'll be doing it for this tutorial too.
Rename the file something unique - I like to name mine with my cattery prefix and what it is, so something like CMCCollar1 works fine here for me.
After you've done that, open the clothing file you just made in LNZ Pro.
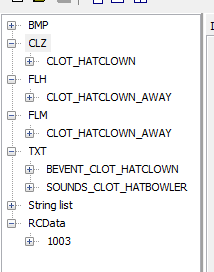
Rename all HATCLOWN instances with something that's 8 characters long - for this tutorial, I made it COLLAR01.
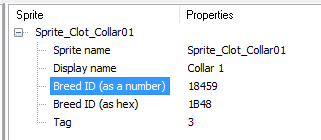
Change the breed ID to something in the 16000-21000 range. You may need to try multiple times to make sure there's no conflicts with existing clothing; sometimes it might just be a bad number and not show up in the closet at all, but just change it again and you're good.
Next, save the file and open it in the hex editor of your choice. I use HxD.
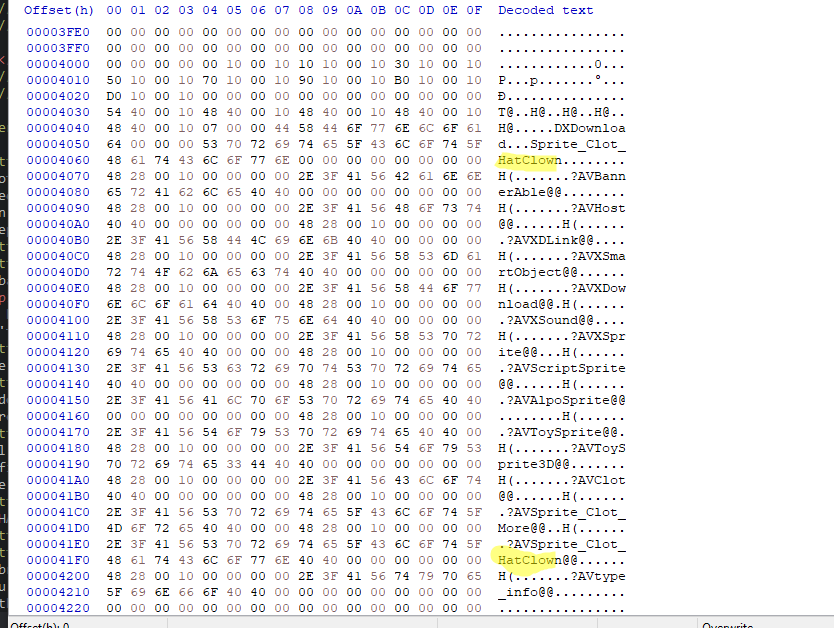
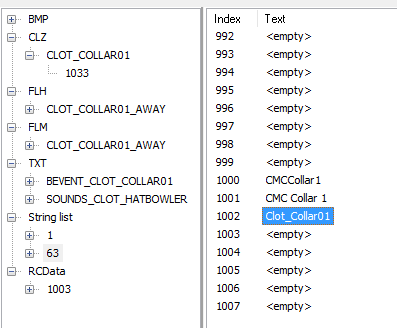
Find the selected text and replace it with your clothing name - in this case, Collar01. Save and open your LNZ file back up.
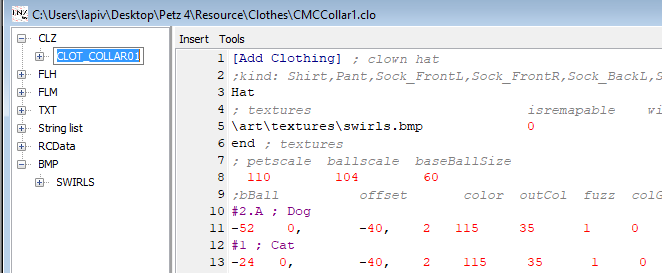
If you're going to add textures, now's your chance. Right click on the 'BMP' category and delete it, then right click -> add resource and add your desired texture. (Make sure it's in the Resource\Clothes folder.)
When you've done that, remember to change the texture in your CLZ file, too.
(You can add other textures, too, just add them like you did the first one.)
Next, we'll get the file ready to paste in.
Change the first value under the "Dog" and "Cat" headers to be the right values; the neck for catz is ball 36, and the neck for dogz is 54. Make sure it's negative. (It won't work right otherwise.)

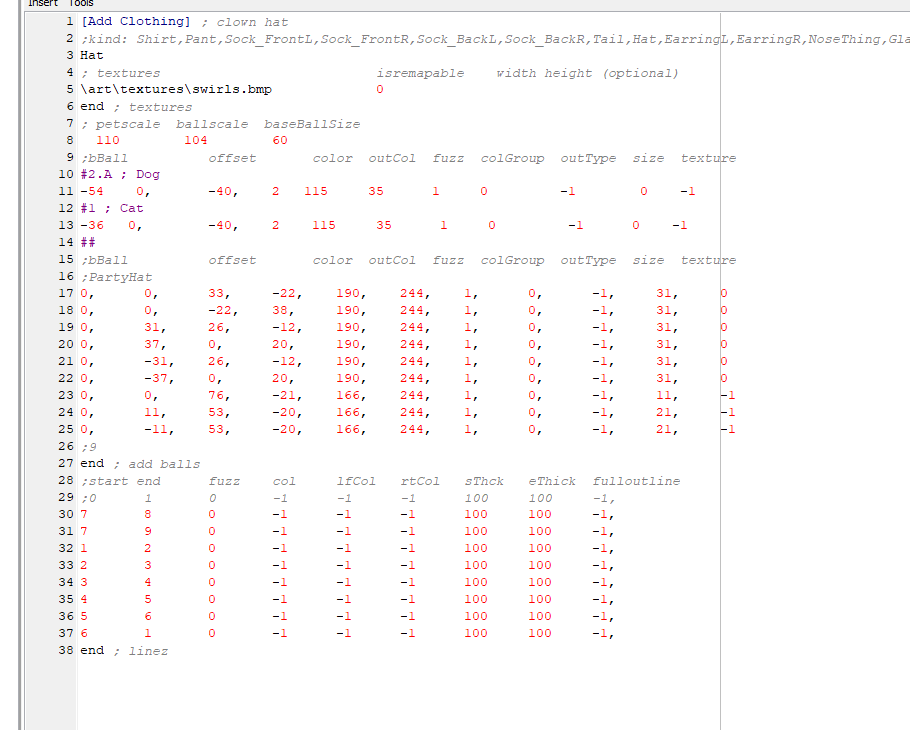
Remove all of the values from under Addballz and Linez. Your file should look like this, now:
Open your breedfile with the addballs. Once you've done that, it's time to open up Excel, grab the code for all the addballs you made (via LNZ Pro), and paste them into the spreadsheet. (You can tell these are the right addballs if they're all centered on the correct ball - in this case, the neck, id 36.)
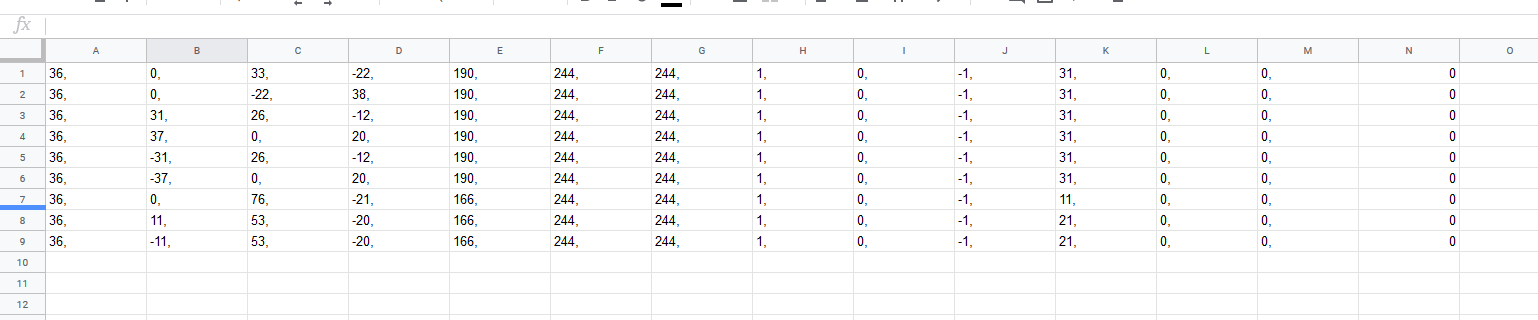
Delete either of the "244," columns, and the first two "0, 0," columns. (F, L, M.) Then change the first column to be "0,".

Paste this into your clothing file under the Addballs section. Make sure there's no space between the rows of numbers, or space before 'end'.
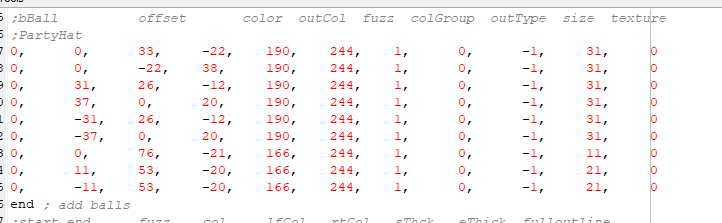
Next, you'll have to note which ball is which and connect them. You can see which number they originally were by hovering over them in PWS. Number them in order of lowest to highest. (If the ball was #92 in PW, then it's #1 in the list.) I like to note how many balls there are in a comment (';9', for example) at the end of the ballz list.
Next, copy the default (commented out) code under the linez section and paste it into Excel again.
Now is the hard part - change the values of the first two numbers per needed row to give a 'start' and 'end' ball. If you wanted to connect ball 1 to ball 2, you'd do '1' and '2'.
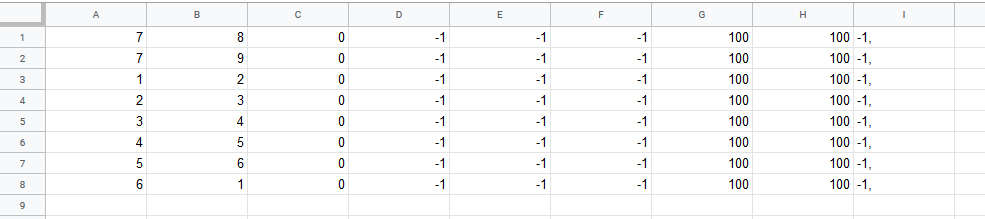
Paste it under your 'linez' section. Remember not to leave space between the rows.
If you added a texture, make sure that anything untextured has "-1" as its final value. For example, the collar is textured here (with texture '0', the first texture), but the heart charm on the front is not textured at all.
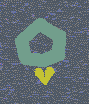
Save your file. Now, open up Petz. In your closet should be two Clown Hats, now, if the "breed" number you put in is valid - take them out to see which is which, and put the correct one on your Catz or Dogz to see how it fits.
(if it isn't there then you need to try another number)
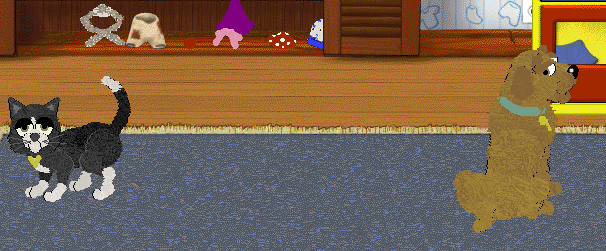
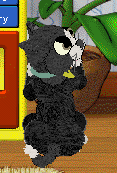
Looks alright, but on the pet, it might not look good... let's see how it looks on a cat.
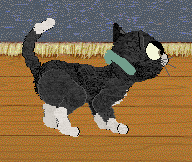
This is where you want to eyeball, and modify the XYZ values of the hidden base ball that the addballs are based off of.

First value is X, or the petz's left/right. It looks fine where it is, so we won't fiddle with the X value.
The Y value is the up and down. Positive is down, negative is up. I think it needs nudged down a little - I'll try nudging it down by 20.
And finally, the Z value is from the back to the front. You'll want a negative value for moving it to the front.
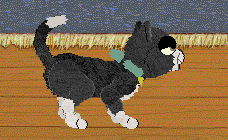
Even with everything perfectly aligned, I'm bothered by how few ballz this thing has. I'll go back and tweak (following the same steps we followed to get here).
Now, with everything placed proper again...
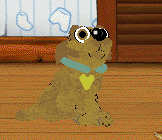
And now you just need to adjust the collar on the dog model, same way as with the cat model - edit the Y and Z coords until it's properly aligned.
Your final step now is to make an icon for how it looks in the closet. Make a small sprite (around 45x45 pixels). I like to get a photo of the collar after taking it out of the closet and make the background transparent, so that's what I'll do here.
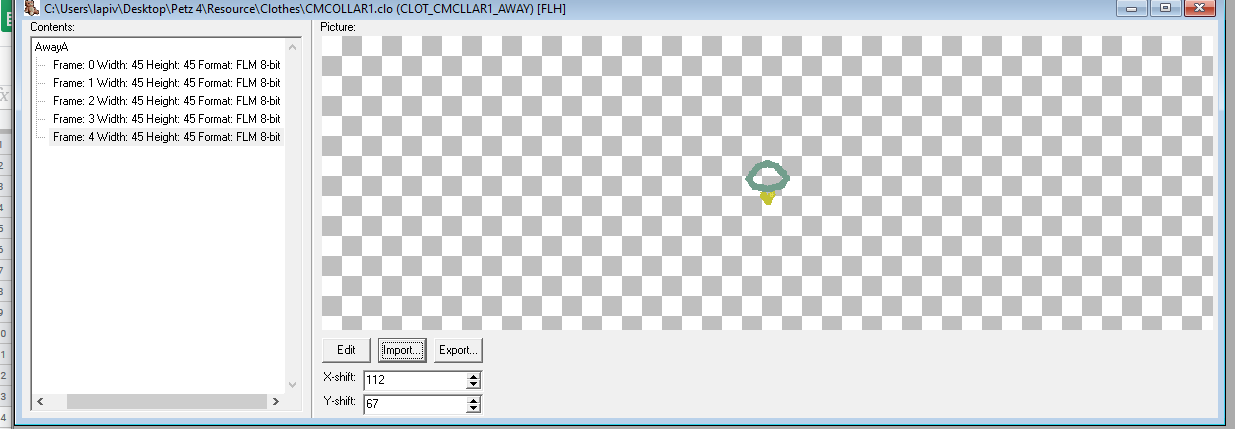
Replace all the images with your transparent 45x45 sprite, save, and you're done! You now have a working clothes file.